I’ve been using AWS EKS (Elastic Kubernetes Service) and Docker for desktop which also has Kubernetes, but I realized I’ve never actually built a Kubernetes cluster from scratch. So I decided to build one on a Raspberry Pi cluster. Why you ask? Because it looks way cooler sitting on my desk then just doing it in vSphere and I can post pictures.
If you would like to build your own Kubernetes Raspberry Pi Cluster, this is how I did it.
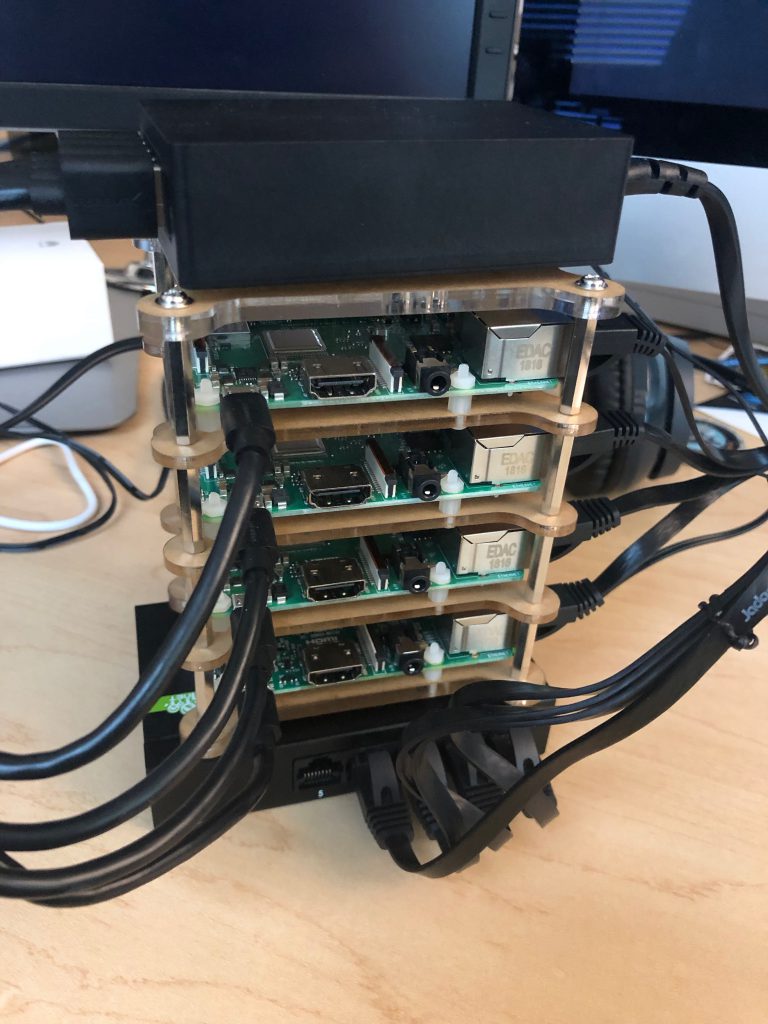
What I used:
- 4 – Raspberry PI Model 3 B
- 1 – Sabrent 5 port USB Power
- 1 – Trendnet 5 poer Ethernet switch
- 1 – iUniker Raspberry Pi Cluster Case
- 4 – Ethernet cables
- 4 – USB to MicroUSB cables
- 4 – 16BG MicroSD Cards
The size of the SD card doesn’t really matter but I wouldn’t try this with anything smaller than 8GB.
Configure the OS
First you will need to download an OS and flash it to the SD cards. I used Raspbian Stretch Lite which is available here. Then you need to flash the image to each of the SD cards. For this I use Etcher.
Insert the SD cards into each of the Pis and boot them. The default login/password for Raspbian is:
username: pi
password: raspberry
Login and run updates:
sudo apt-get update
sudo apt-get upgrade -y
Enable SSH:
sudo raspi-configChoose “Interfacing Options” and enable ssh.
You may also want to set a hostname and static IP address. For my cluster I’m using one PI as the Kubernetes master and 3 as worker nodes. Set the following hosnames:
master
worker-01
worker-02
worker-03
sudo hostnamectl set-hostname <HOSTNAME>
sudo sed -i s/raspberrypi/<HOSTNAME>/g /etc/hosts
My nework is:
192.168.0.0/16
I’m using a DHCP server so I created static entries to configure the IPs for each Pi. If you wish to set static IPs on each Pi, add the folowing lines to the end of /etc/dhcpcd.conf
interface eth0
static ip_address=<IP_ADDRESS>
static routers=<IP_ADDRESS>
static domain_name_servers=<IP_ADDRESS>
Once this is done, reboot the PIs for the changes to take effect.
Install the Required Software
First install docker:
curl -sSL get.docker.com | sh && sudo usermod pi -aG dockerNext, disable swap:
sudo dphys-swapfile swapoff
sudo dphys-swapfile uninstall
sudo update-rc.d dphys-swapfile
sudo cp /boot/cmdline.txt /boot/cmdline_backup.txt
orig="$(head -n1 /boot/cmdline.txt) cgroup_enable=cpuset cgroup_enable=memory"
echo $orig | sudo tee /boot/cmdline.txt
Finally, install Kubernetes:
curl -s https://packages.cloud.google.com/apt/doc/apt-key.gpg | sudo apt-key add -
echo "deb http://apt.kubernetes.io/ kubernetes-xenial main" | sudo tee /etc/apt/sources.list.d/kubernetes.list
sudo apt-get update -q
sudo apt-get install -qy kubeadm
Now, reboot and repeat these steps on each Pi.
Initialize the Kubernetes Master
Login to master and run:
sudo kubeadm initThis will take a few mintes to complete. When it’s done you should see something like:
…
Your Kubernetes master has initialized successfully!
To start using your cluster, you need to run the following as a regular user:
mkdir -p $HOME/.kube
sudo cp -i /etc/kubernetes/admin.conf $HOME/.kube/config
sudo chown $(id -u):$(id -g) $HOME/.kube/config
You should now deploy a pod network to the cluster.
Run “kubectl apply -f [podnetwork].yaml” with one of the options listed at:
https://kubernetes.io/docs/concepts/cluster-administration/addons/
You can now join any number of machines by running the following on each node
as root:
kubeadm join –token TOKEN 192.168.1.0:6443 –discovery-token-ca-cert-hash HASH
Make note of the last line as you will need to run it in a later step. Now follow the instructions above by running:
mkdir -p $HOME/.kube
sudo cp -i /etc/kubernetes/admin.conf $HOME/.kube/config
sudo chown $(id -u):$(id -g) $HOME/.kube/configNow verify Kubernetes is up and running:
kubectl get nodesIf all is good you should see:
NAME STATUS ROLES AGE VERSION
master NotReady master 2m v1.14.1
Set Up the Worker Nodes
Now we need to add the worker nodes to the cluster. On each of the worker nodes run the following command: (the last line of the output when you initialized the master)
sudo kubeadm join --token <TOKEN> 192.168.1.0:6443 --discovery-token-ca-cert-hash <HASH>Set Up the Container Network
We need to use a third party plugin to configure the container network. In this example we will use weave. Run the following command:
kubectl apply -f "https://cloud.weave.works/k8s/net?k8s-version=$(kubectl version | base64 | tr -d '\n')"And That’s It!!!
give it a few minutes and rerun this command:
And if all is good you should see something like:
NAME STATUS ROLES AGE VERSION
master Ready master 17m v1.14.1
worker-01 Ready <none> 10m v1.14.1
worker-02 Ready <none> 10m v1.14.1
worker-03 Ready <none> 6m v1.14.1
You now have a 3 node Kubernetes cluster running on Raspberry Pis.
What to do now?
I’m not sure. Now I need to come up with something to run on it. Check back on my blog in the future to see what I come up with.